
Skip to content
🧢 Free Modern Crochet Patterns & Step-by-Step Guides by Eva
PATTERN β€’ BEGINNER

Free Crochet Animal Patterns: Easy Mini Pocket Cat Amigurumi Tutorial for Beginners

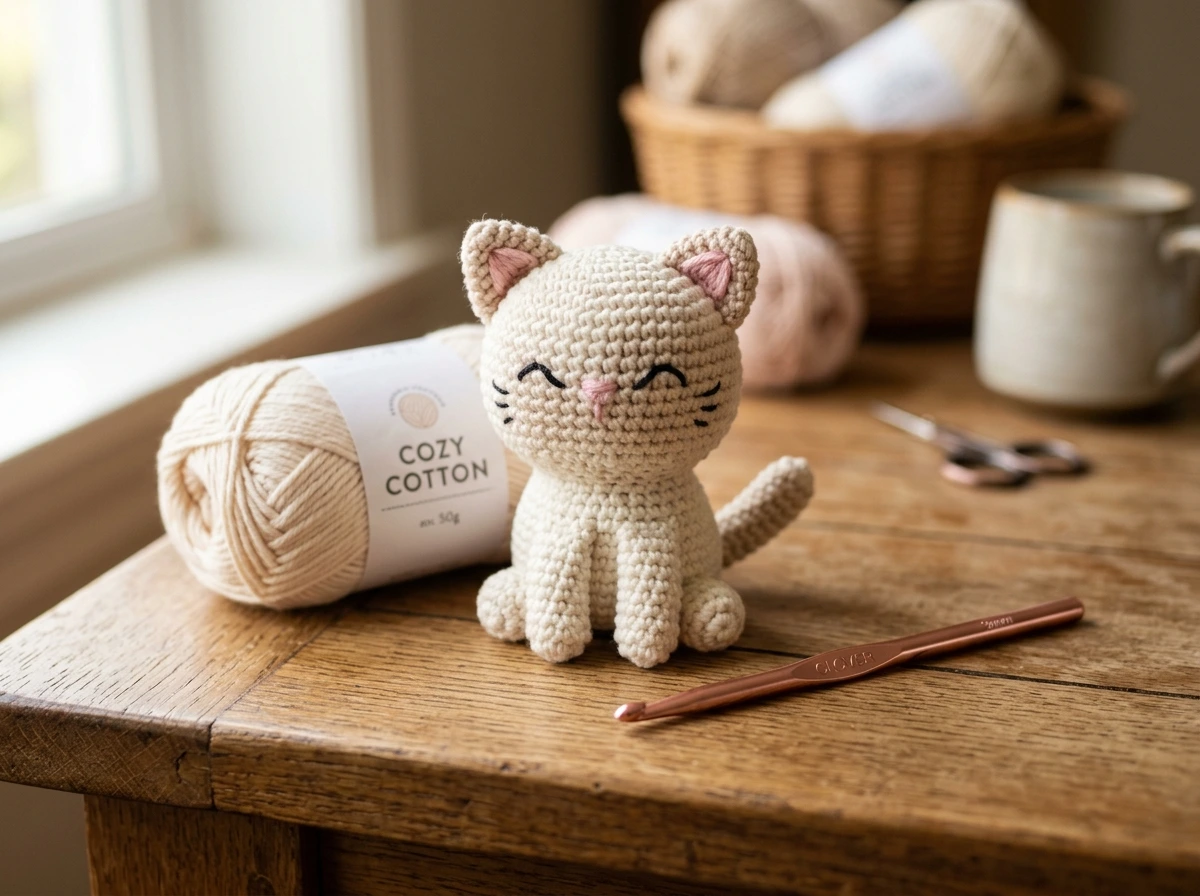
Work up this adorable palm-sized pocket kitten in under an hour with our seamless free crochet animal pattern!

Meet the mini pocket cat! Whether you are exploring free crochet animal patterns for the first time or looking for the ultimate 1-hour stash buster, this seamless amigurumi kitten brings pure joy with its perky ears, chubby cheeks, and pocket-sized charm.

↓ JUMP TO PATTERN
🎯
SKILL LEVEL Beginner
⏱
TIME TO COMPLETE 45 - 60 Minutes
πŸͺ‘
HOOK SIZE 2.5 mm (US B-1 / C-2)
🧢
YARN WEIGHT DK / Sport Weight (#3) Cotton
πŸ“
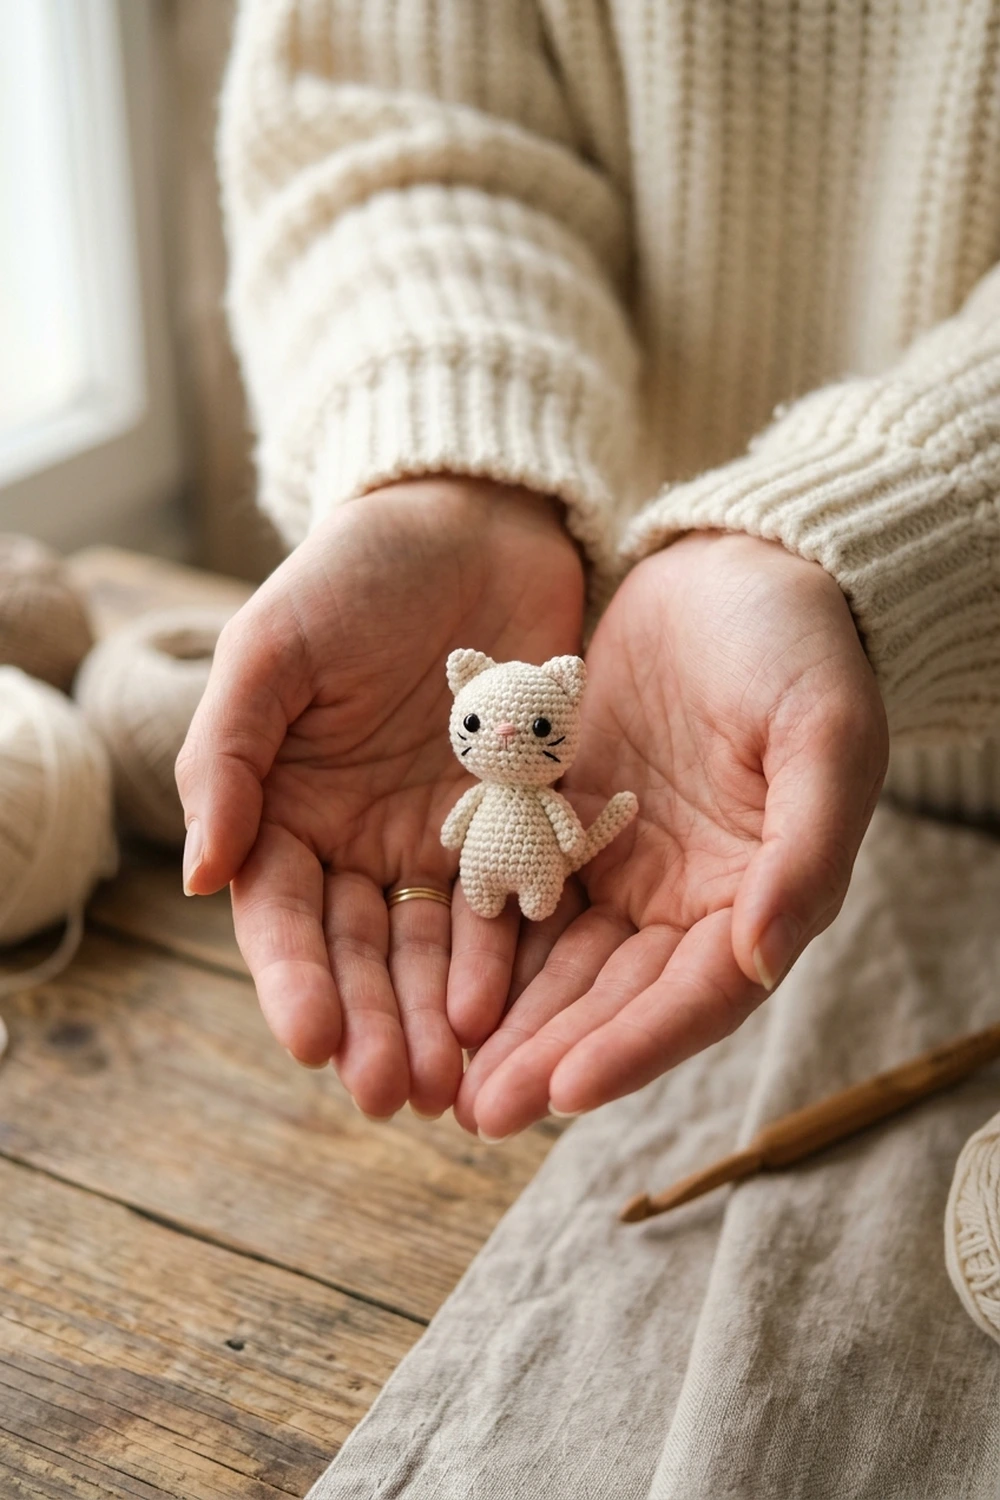
FINISHED SIZE 3.5" (9 cm) tall x 2.2" (5.5 cm) wide
πŸ“–
TERMS US Terms
SAVE FOR LATER

Save This Pattern on Pinterest

Choose your favorite creative and save it to the board you use for crochet inspiration.

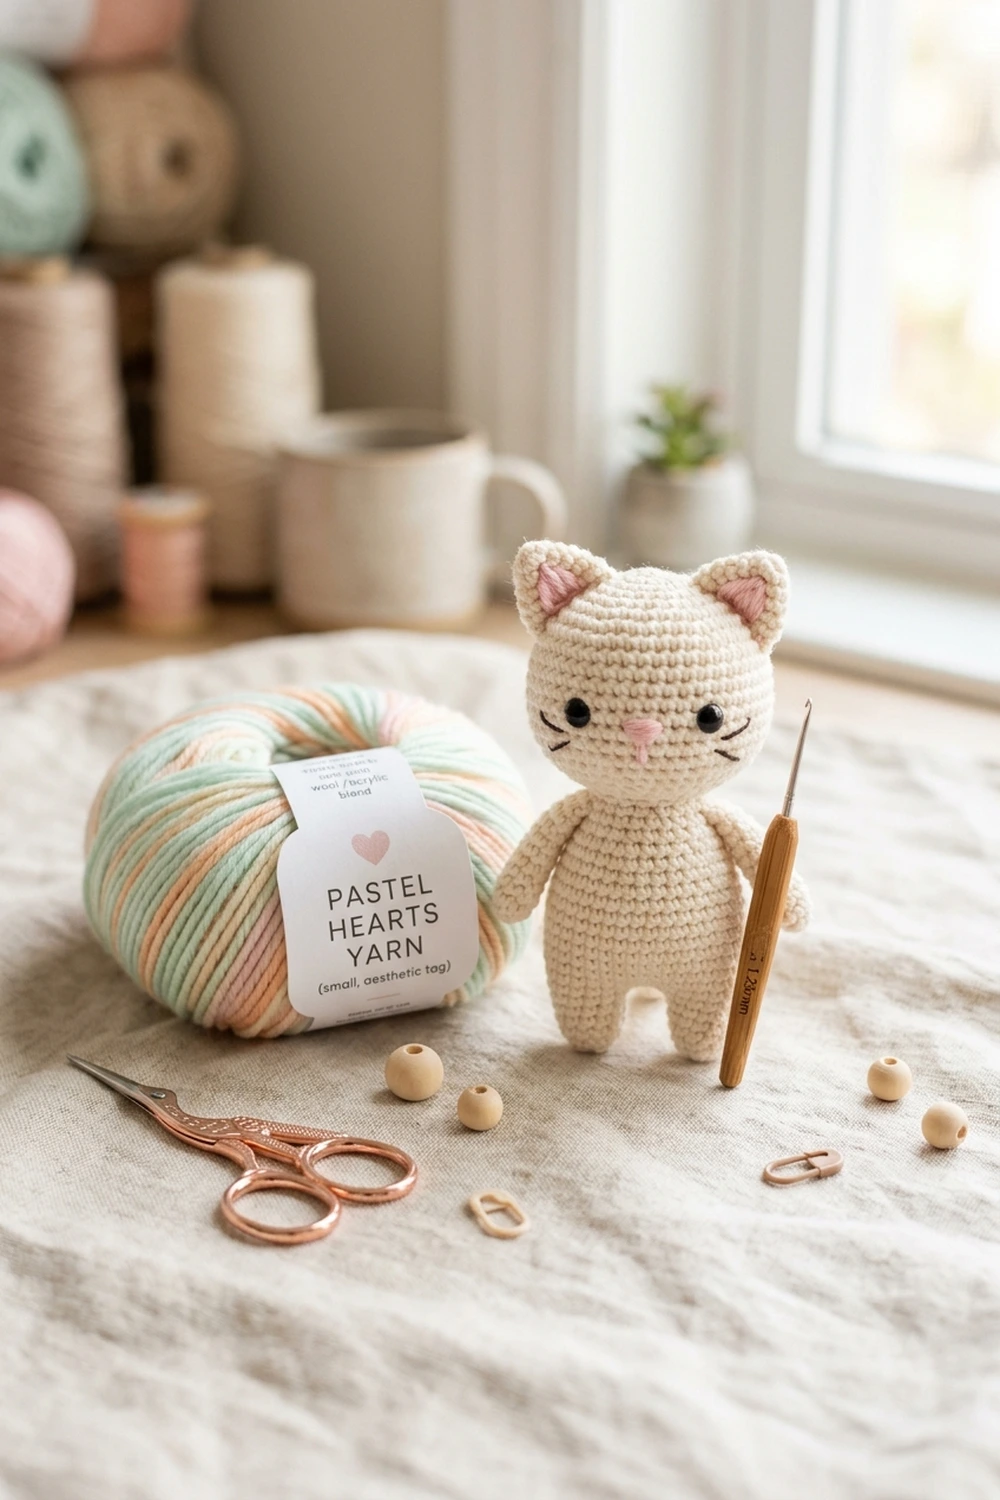
Free Crochet Animal Patterns: Easy Mini Pocket Cat Amigurumi Tutorial for Beginners - Styled View ✨ Angle 1 β€’ Styled View
Save to Pinterest Click to pin this creative
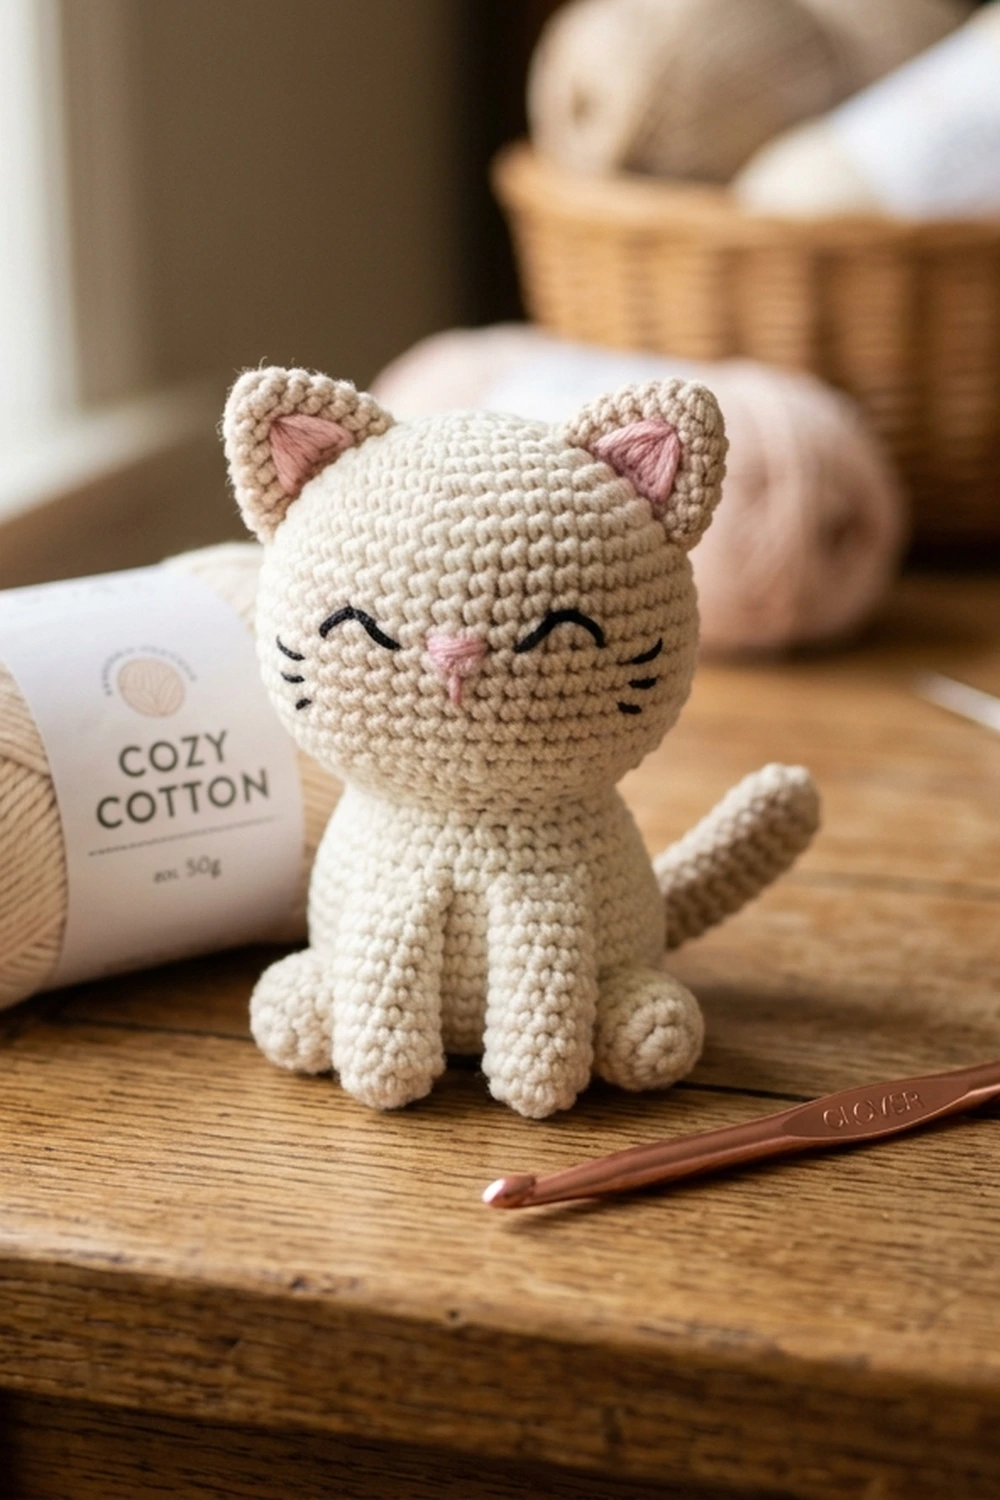
Free Crochet Animal Patterns: Easy Mini Pocket Cat Amigurumi Tutorial for Beginners - Stitch Detail Angle πŸ” Angle 2 β€’ Stitch Details
Save to Pinterest Click to pin this creative
Free Crochet Animal Patterns: Easy Mini Pocket Cat Amigurumi Tutorial for Beginners - Finished Project Scale πŸ“ Angle 3 β€’ Scale & In-Hand
Save to Pinterest Click to pin this creative

If you are searching for charming, quick-win free crochet animal patterns that you can finish in a single relaxing afternoon, this miniature pocket cat amigurumi tutorial is the sweetest place to start. Measuring just 3.5 inches tall, this adorable palm-sized kitten features a chubby seamless body worked in continuous spirals, two perky triangular ears, and a gently curving tail. Whether you want to whip up an irresistible desk mascot, craft cute backpack keychains for back-to-school season, or stock your craft market display with high-margin impulse makes, this beginner-friendly cat pattern delivers maximum cuteness with zero complicated shaping.

To ensure your miniature kitten has firm, gap-free stitches that keep the fluffy fiberfill securely locked inside, we recommend following the yarn weight and hook matching benchmarks outlined by the Craft Yarn Council and amigurumi construction guidelines from the Crochet Guild of America (CGOA). If you are new to working in the round, make sure to review our foundational guide on How to Crochet a Magic Loop to guarantee a tight, hole-free starting ring, and measure your leftover yarn scraps in seconds using our interactive Yarn & Yardage Calculator. Now grab your 2.5 mm hook and favorite cotton yarn, and let’s crochet the cutest pocket kitten together!

✨ Behind The Design

About This Pattern

I designed this mini pocket cat pattern after receiving countless requests from community members who wanted a quick, joyful amigurumi project that doesn't require hours of tedious limb seaming. By working the head and body in a single continuous seamless piece, you get an irresistibly cuddly miniature companion that fits right into your palm, pocket, or backpack keyring in under 60 minutes.

Whether you are crafting a gentle stress-relief fidget toy, creating handmade desk accessories, or prepping high-margin impulse items for your next craft market, this little feline is an absolute delight to stitch.

🧢
Construction Style Continuous Spiral Rounds (Seamless Head & Body in one piece with sewn ears and tail)
πŸ“
Sizing & Fit Notes Finished height is approximately 3.5 inches (9 cm). Easily scaled up using worsted or chunky yarn with a larger hook.
🎯
Skill Prerequisites Magic Ring / Adjustable Loop, Single Crochet, Invisible Decrease, Simple Sewing with Tapestry Needle

🧢 Materials & Tools Checklist

(Tap items to check off as you gather)

πŸ“– Stitches & Abbreviations Used

MR β€” Magic Ring / Magic Circle
ch β€” chain
sc β€” single crochet
inc β€” increase (2 sc in same st)
inv-dec β€” invisible decrease (front loops only)
sl st β€” slip stitch
st(s) β€” stitch(es)
rnd(s) β€” round(s)

πŸ’‘ Eva’s Designer Tips

Use a hook 0.5 mm to 1.0 mm smaller than your yarn label recommends to maintain firm, gap-free stitches.
Always execute invisible decreases in the front loops only to avoid bumps on the cute kitten face.
Stuff the head and torso firmly in small tufts of fiberfill rather than one large ball to eliminate lumps.
Place a locking stitch marker in the first stitch of every round to keep accurate count without losing your place.

πŸ“Έ Step-by-Step Tutorial

Pattern Construction & Stitch Steps

Follow these guided steps and stitch photos to make your project from start to finish.

1

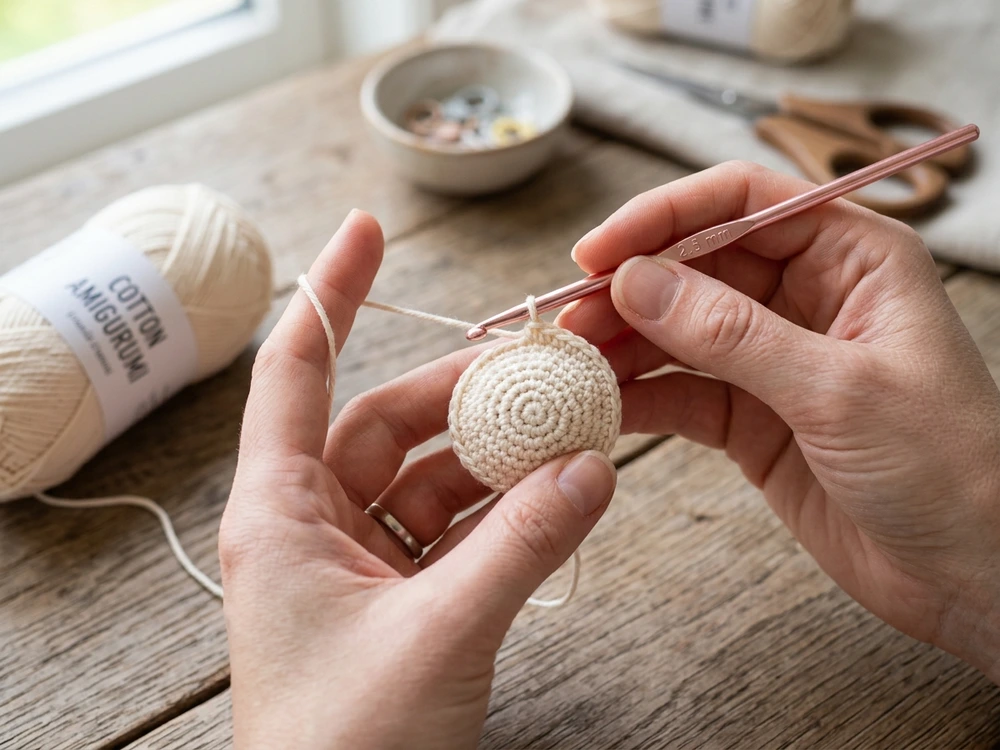
Step 1: Foundation Magic Ring & Seamless Top-Down Spiral

Start with an adjustable magic ring of 6 sc, then work gradual single crochet increases in continuous spirals to form the head and smooth neck transition.

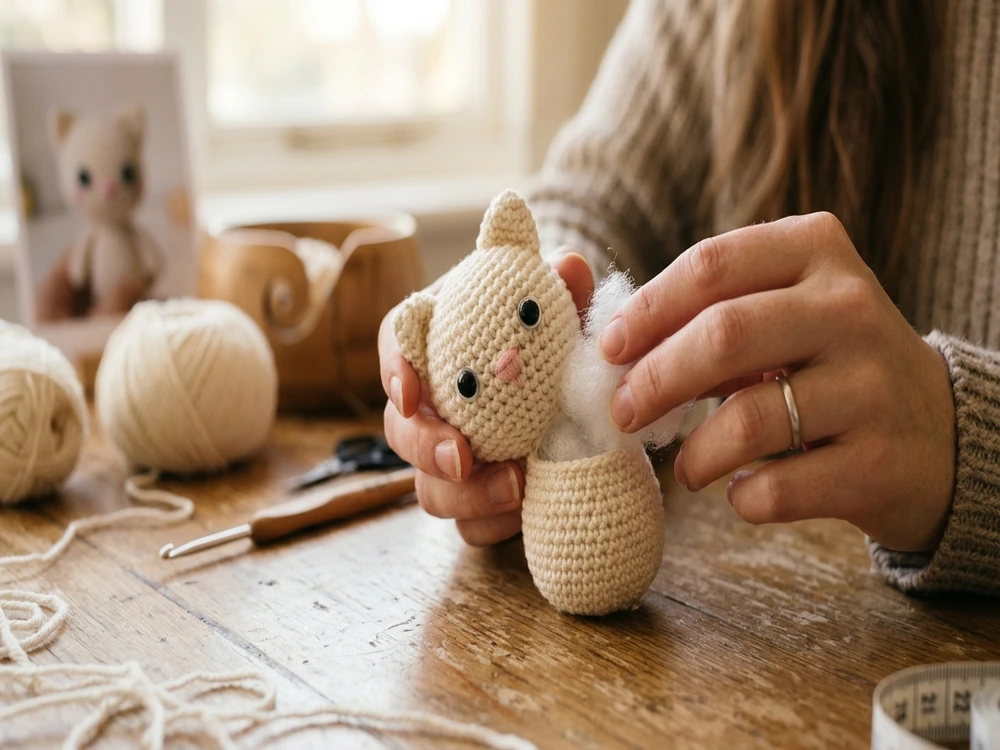
2

Step 2: Inserting Safety Eyes & Packing Hypoallergenic Polyfill

Secure 6 mm black safety eyes between Rounds 7 and 8 with plastic washers, then firmly pack the head and torso with hypoallergenic polyester fiberfill.

3

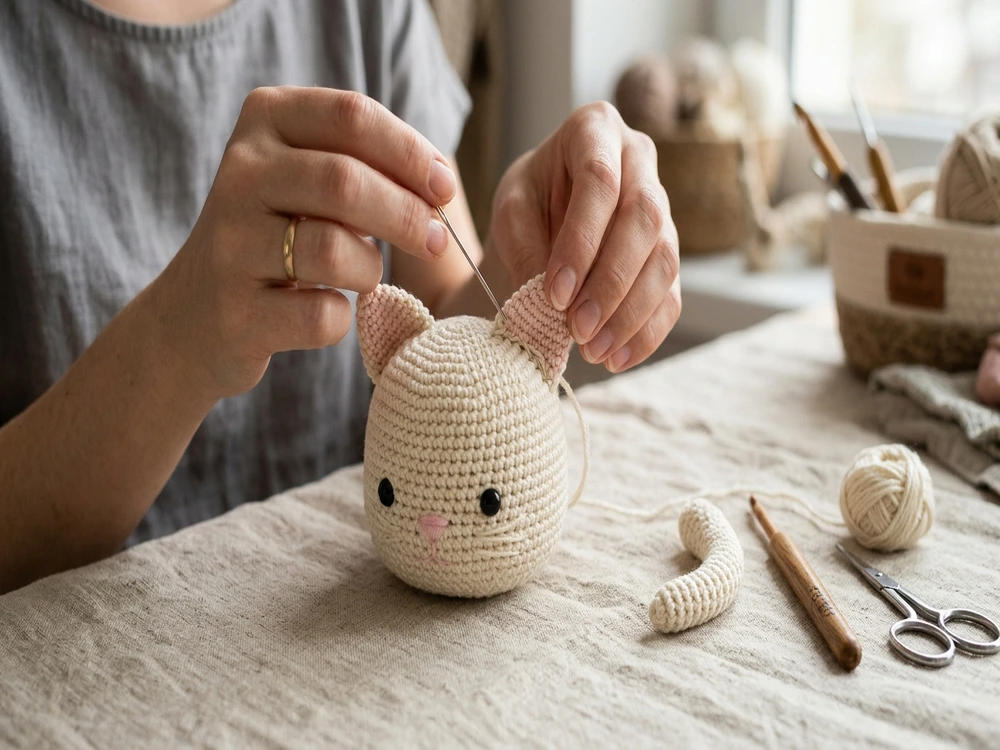
Step 3: Crocheting & Attaching Perky Triangular Cat Ears and Tail

Work two small triangular ears in the round and attach them symmetrically to the head; crochet a 5-stitch round tail and seam to the lower back.

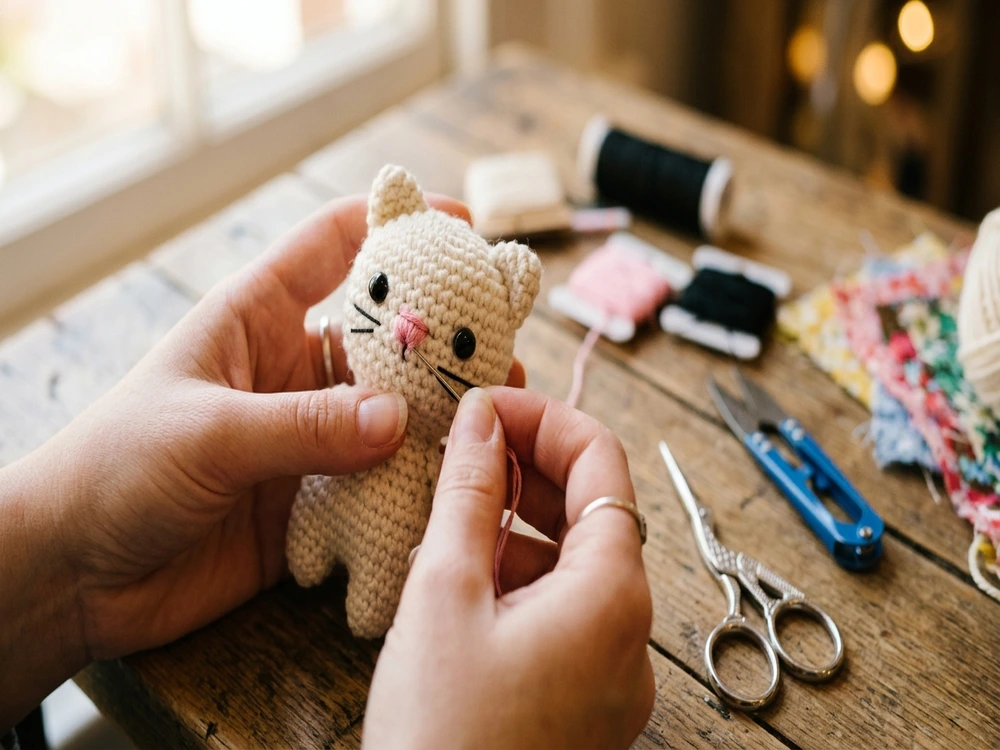
4

Step 4: Facial Embroidery, Cheek Whiskers & Base Drawstring Closure

Embroider a delicate pink nose, smiling kitten mouth, and side whiskers, then cinch the bottom 6 stitches shut with a neat drawstring pull.

πŸͺ‘ Finishing Masterclass

Assembly & Facial Embroidery

Follow these guided positioning and embroidery steps to bring your handmade character to life.

πŸ“

Part Placement & Seaming

Pin the two triangular ears symmetrically onto Rounds 3 to 6 of the head, tilted slightly outward. Using your yarn tail and a blunt tapestry needle, whipstitch through both layers of the ear base directly into the head rounds. Attach the curved tail to the lower back between Rounds 17 and 18, angling upward.

🐱

Facial Embroidery & Whiskers

With 2 strands of pink embroidery floss, stitch a tiny horizontal triangle between Rounds 7 and 8 right between the eyes. Work one vertical straight stitch downward to form the kitten mouth. With black embroidery thread, embroider two delicate horizontal whiskers on each cheek.

✨

Base Closure & Finishing Touches

Ensure the head and cheeks are stuffed firmly with small tufts of fiberfill to create plump cheeks without lumps. Cinch the bottom 6 stitches shut like a drawstring with a tapestry needle, knot securely, and bury all yarn ends inside.

🧢 Complete Stitch Tutorial

Pattern Instructions

πŸ’– Maker Highlights

Why You’ll Love This Free Crochet Animal Pattern

  • 100% Seamless Head & Body:: You do not need to sew the head to the body! The entire head and torso are worked in one continuous top-down spiral, eliminating messy seams and wobbly necks.
  • Fast 1-Hour Project:: With less than 50 yards of sport or DK weight yarn, you can complete an entire pocket kitten from foundation ring to final whiskers in approximately 45 to 60 minutes.
  • The Ultimate Stash Buster:: Have small partial skeins of cotton or acrylic yarn left over from blankets and garments? This miniature cat requires just 25 grams of yarn, making it the ideal scrap-yarn project.
  • Beginner-Friendly Stitch Sequence:: The pattern relies entirely on simple US single crochet stitches, standard increases, and the neat invisible decrease technique.
🧢 Step-by-Step Instructions

Step-by-Step Written Pattern Instructions

Follow each round sequentially. Tap the checkboxes to mark rounds complete and keep your place as you crochet!

PART 1

Part 1: Seamless Head & Body (Worked Top-Down)

Worked in continuous spiral rounds without joining. Place a locking stitch marker in the first stitch of every round to keep track of your position.

  • Round 1 Make a Magic Ring, work 6 sc into the ring. Pull tail tight to close center hole. 6 sts
  • Round 2 Work 2 sc in each stitch around [inc in each st]. 12 sts
  • Round 3 *Sc in next st, inc in next st; repeat from * 6 times. 18 sts
  • Round 4 *Sc in next 2 sts, inc in next st; repeat from * 6 times. 24 sts
  • Rounds 5–9 (5 rounds) Sc in each stitch around. 24 sts
  • Round 10 *Sc in next 2 sts, inv-dec in next st; repeat from * 6 times. 18 sts
  • πŸ’‘
    Insert 6 mm safety eyes between Rounds 7 and 8, spaced approximately 4 to 5 stitches apart. Fasten the safety backings firmly inside.
  • Round 11 *Sc in next st, inv-dec in next st; repeat from * 6 times. (12 sts) β€” This round forms the kitten's defined neck indent.
  • Round 12 (Body Expansion) *Sc in next st, inc in next st; repeat from * 6 times. 18 sts
  • Round 13 *Sc in next 2 sts, inc in next st; repeat from * 6 times. 24 sts
  • Rounds 14–18 (5 rounds) Sc in each stitch around to build the chubby body. 24 sts
  • πŸ’‘
    Pause here to firmly stuff the head with polyester fiberfill, making sure the cheeks are plump and round.
  • Round 19 *Sc in next 2 sts, inv-dec in next st; repeat from * 6 times. 18 sts
  • Round 20 *Sc in next st, inv-dec in next st; repeat from * 6 times. 12 sts
  • πŸ’‘
    Add final stuffing to the body so the kitten sits stably without wobbling.
  • Round 21 Inv-dec in each of the next 6 stitches around. 6 sts
  • πŸ’‘
    Fasten off leaving an 8-inch yarn tail. Thread the tail through a tapestry needle, weave through the front loops of the remaining 6 stitches, and pull tightly like a drawstring to close. Knot securely and weave yarn end inside.
PART 2

Part 2: Cute Kitten Ears (Make 2)

Worked in spiral rounds. Do not stuff the ears.

  • Round 1 In a Magic Ring, work 4 sc. Pull tight. 4 sts
  • Round 2 *Sc in next st, inc in next st; repeat from * 2 times. 6 sts
  • Round 3 *Sc in next st, inc in next st; repeat from * 3 times. 9 sts
  • Round 4 Sc in each stitch around. 9 sts
  • πŸ’‘
    Fasten off leaving a 10-inch tail for sewing. Flatten the ear into a crisp triangle (do not stuff).
PART 3

Part 3: Cute Kitten Tail

Crochet without stuffing for natural flexibility.

  • Round 1 In a Magic Ring, work 5 sc. Pull tight. 5 sts
  • Rounds 2–10 (9 rounds) Sc in each stitch around. 5 sts
  • πŸ’‘
    Fasten off leaving a 6-inch tail. Weave the tail lightly through the tip to create a gentle upward curve.
✨ Eva’s Studio Secrets

Eva’s Golden Amigurumi Pro-Tips

The Secret to Invisible Decreases in Amigurumi: Always use the Invisible Decrease (inv-dec) instead of a standard sc2tog. By inserting your hook only into the front loops of the two stitches, your decrease lays completely flat against the fabric surface. This eliminates unsightly bumps and prevents white polyfill stuffing from showing through.

Stuffing Technique for Chubby Cheeks: Stuff firmly in small pea-sized tufts rather than one large wad. Use the back end of your crochet hook to push fiberfill outwards into the kitten cheeks first before filling the center.
PIN IT TO CROCHET LATER

πŸ“Œ Save This Pattern to Your Pinterest Board

Keep this free pattern, stitch charts, and photo steps right at your fingertips by pinning it to your favorite crochet boards!

Angle 1 Angle 1: Styled
Save Styled
Angle 2 Angle 2: Scale
Save Scale
Angle 3 Angle 3: Details
Save Details
Suggested Boards: #FreeCrochetPatterns #AmigurumiAnimals #PocketCatAmigurumi #CrochetEva

❓ Frequently Asked Questions

Because the head and body are crocheted in one continuous seamless piece with no seam assembly, most crocheters finish the entire cat in about 45 to 60 minutes!

A 100% mercerized cotton or smooth cotton-blend yarn in DK or Sport weight (#3) provides clean stitch definition, zero fuzziness, and crisp structural stiffness that holds shape perfectly.

Yes! For infants and children under 3 years old, omit plastic safety eyes and embroider sleepy closed eyes or neat French knots using black cotton embroidery floss to prevent any choking hazard.

Stuffing peeks through when your hook size is too large or your crochet tension is too loose. Always use a hook size 0.5 mm to 1.0 mm smaller than the yarn band recommendation, and make sure to use the invisible decrease technique.

How did this pattern work for you?

Leave a star rating to help fellow makers find the best projects.

✨

Was this pattern clear and helpful?

Your feedback helps Eva refine every stitch count and tutorial.

Eva
Pattern Designer & Founder

Eva

Hi there, I’m Eva! I create modern, cozy crochet patterns engineered for both beginners and passionate yarn artists. Every design in our studio is stitch-tested for accuracy, ease, and timeless style.

Read Eva’s Story & Studio Notes β†’

✍️ Leave a Comment or Question

Your email address will not be published. Required fields are marked *