
Skip to content
๐Ÿงถ Free Modern Crochet Patterns & Step-by-Step Guides by Eva
PATTERN โ€ข BEGINNER

Easy Kitty Crochet Hat Pattern: Cute Cat Ear Beanie for Beginners

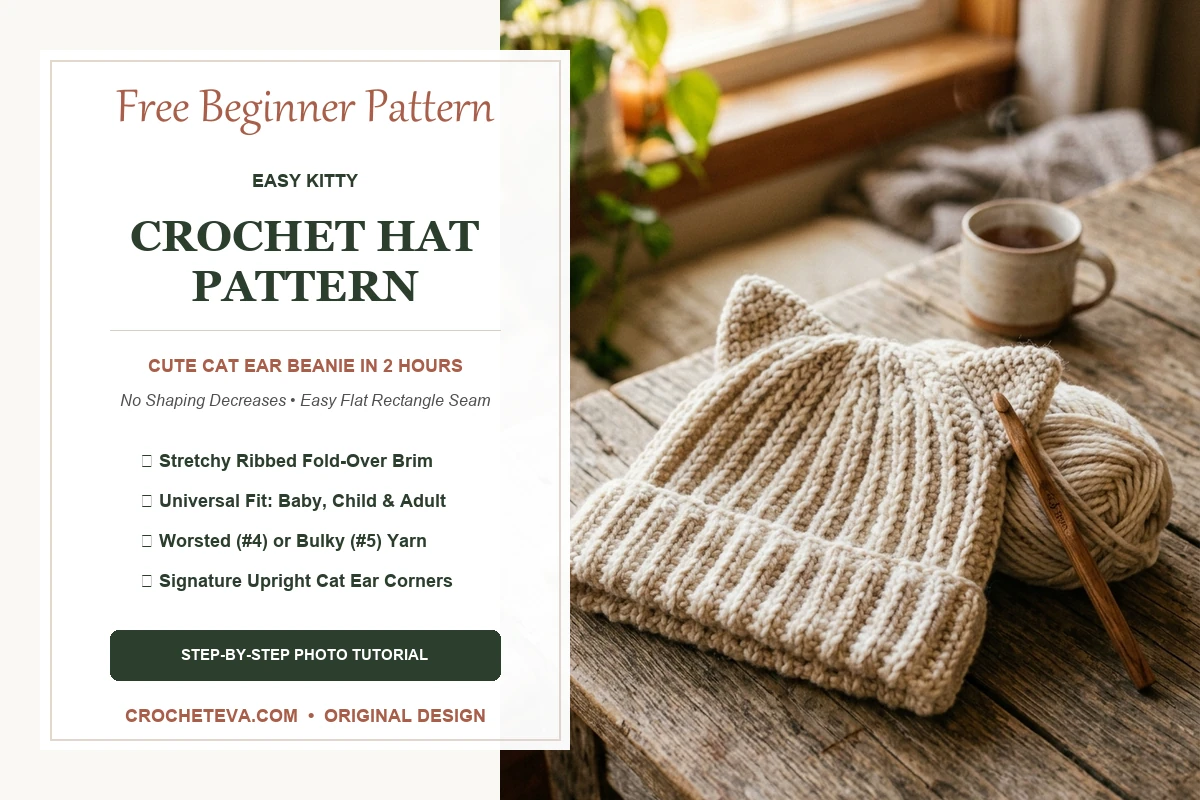
Cozy ribbed cat ear beanie worked flat with zero decreases โ€” the ultimate beginner-friendly viral project!

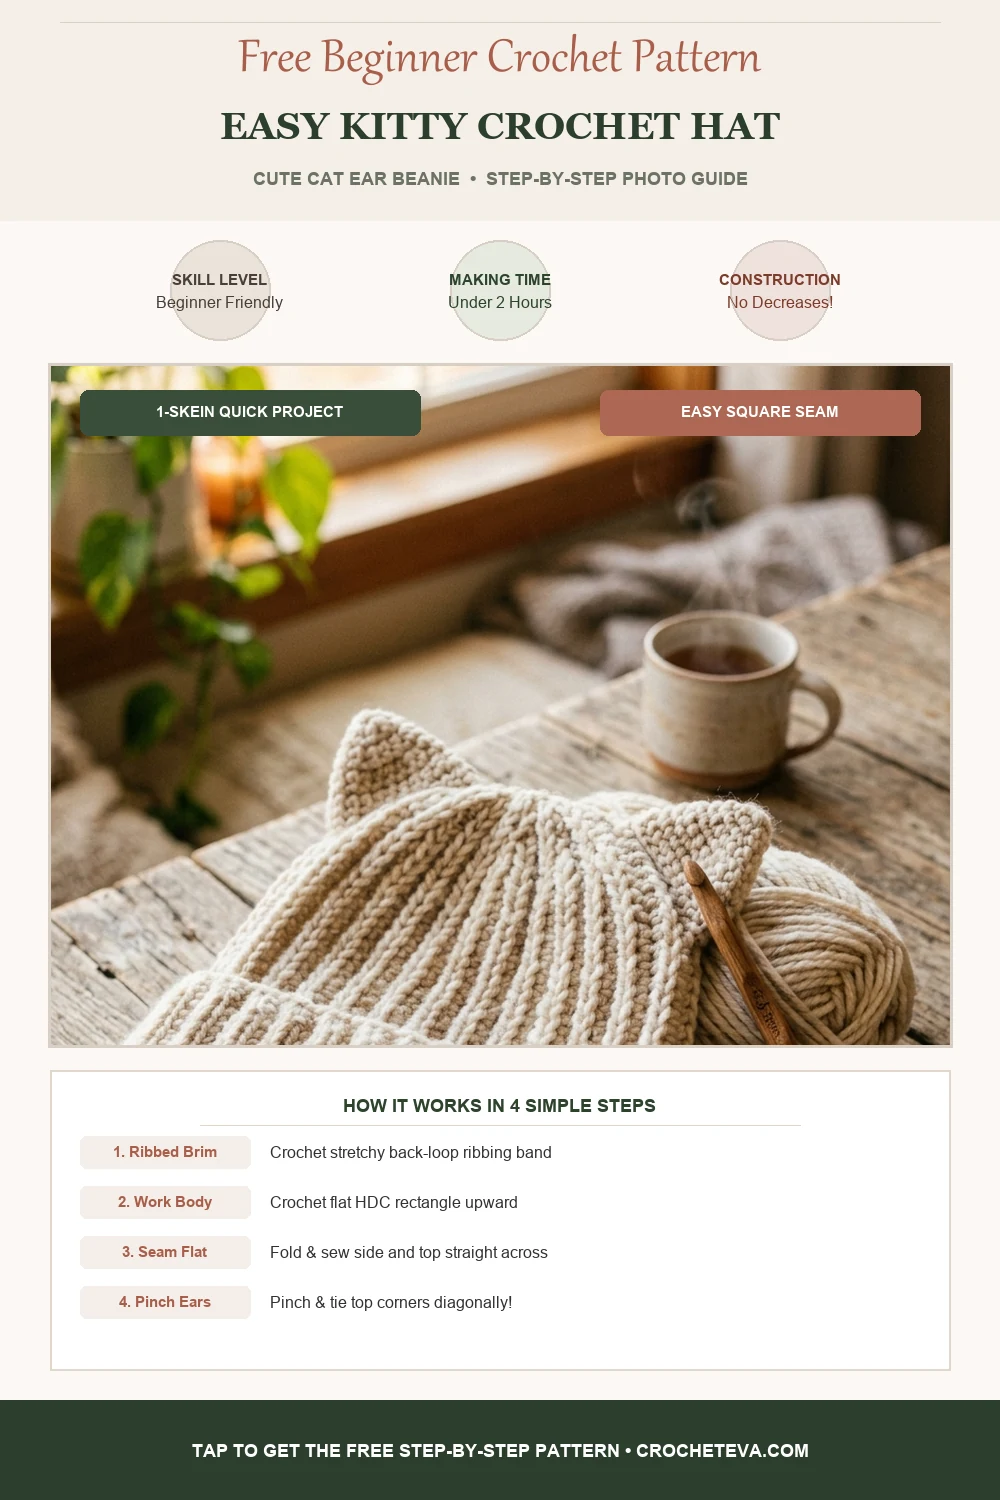
Make an adorable kitty cat crochet beanie! Worked entirely flat in continuous back-loop ribbing, this hat requires no complex shaping or crown decreases. Simply fold, seam, and watch the perky cat ears pop up like magic.

โ†“ JUMP TO PATTERN
๐ŸŽฏ
SKILL LEVEL Beginner
โฑ
TIME TO COMPLETE 1.5 - 2 Hours
๐Ÿชก
HOOK SIZE 5.0 mm (H/8)
๐Ÿงถ
YARN WEIGHT Worsted (4)
๐Ÿ“
FINISHED SIZE 10" width x 8.5" height (Adult Regular, folded brim)
๐Ÿ“–
TERMS US Terms
SAVE FOR LATER

Save This Pattern on Pinterest

Choose your favorite creative and save it to the board you use for crochet inspiration.

Easy Kitty Crochet Hat Pattern: Cute Cat Ear Beanie for Beginners - Styled View โœจ Angle 1 โ€ข Styled View
Save to Pinterest Click to pin this creative
Easy Kitty Crochet Hat Pattern: Cute Cat Ear Beanie for Beginners - Stitch Detail Angle ๐Ÿ” Angle 2 โ€ข Stitch Details
Save to Pinterest Click to pin this creative
Easy Kitty Crochet Hat Pattern: Cute Cat Ear Beanie for Beginners - Finished Project Scale ๐Ÿ“ Angle 3 โ€ข Scale & In-Hand
Save to Pinterest Click to pin this creative

Few crochet projects bring as much instant delight as this kitty crochet hat pattern. Featuring cozy ribbed texture, a fold-over brim, and two irresistibly perky cat ears, this cute beanie has taken the maker community by storm. Whether you are creating a playful winter accessory for yourself, making a charming gift for a feline lover, or whipping up a quick weekend project, this pattern delivers maximum coziness with minimal fuss.

The best part about this design is its refreshingly simple construction. Unlike traditional beanies that require intricate crown decreases or tricky circular shaping, this cat ear hat begins as a straightforward flat rectangle. Because proper head sizing is essential for comfortable stretch and fit, we follow the standardized head circumference benchmarks established by the Craft Yarn Council and design principles from the Crochet Guild of America (CGOA) to ensure your beanie fits like a dream.

โœจ Behind The Design

About This Pattern

Inspired by playful modern street style and cozy cold-weather crafting, the Easy Kitty Crochet Hat was designed to give beginners an instant confidence boost. Instead of wrestling with crown decreases or complex stitch multiples, this hat is crocheted entirely as a flat ribbed rectangle using stretchy half double crochet stitches worked in the back loop only.

When you fold it in half and seam the top and side edges, the rectangular corners naturally poke up to form the cutest, perkiest cat ears! It is one of our most requested patterns and a studio favorite for quick gifts, market prep, and cozy weekend stitching.

๐Ÿงถ
Construction Style Worked flat as a ribbed rectangle (BLO), then folded and seamed into a tube with pinched corners
๐Ÿ“
Sizing & Fit Notes Includes Baby, Toddler, Child, Teen, Adult Regular, and Slouchy sizing with negative ease
๐ŸŽฏ
Skill Prerequisites Chain (ch), Half Double Crochet (hdc), Slip Stitch (sl st), Back Loop Only (BLO)

๐Ÿงถ Materials & Tools Checklist

(Tap items to check off as you gather)

๐Ÿ“– Stitches & Abbreviations Used

ch โ€” chain
hdc โ€” half double crochet
sl st โ€” slip stitch
BLO โ€” back loop only
st(s) โ€” stitch(es)
rem โ€” remaining

๐Ÿ’ก Evaโ€™s Designer Tips

Work in the back loop only (BLO) across every row to produce that springy, elastic ribbing that stays snug on your head.
Leave a generous 18-to-20-inch yarn tail when finishing to seam both the side tube and the top crown opening.
To give the cat ears extra crispness, pinch each corner from the inside and secure the base with 3-4 small tacking stitches.

๐Ÿ“ธ Step-by-Step Tutorial

Pattern Construction & Stitch Steps

Follow these guided steps and stitch photos to make your project from start to finish.

1

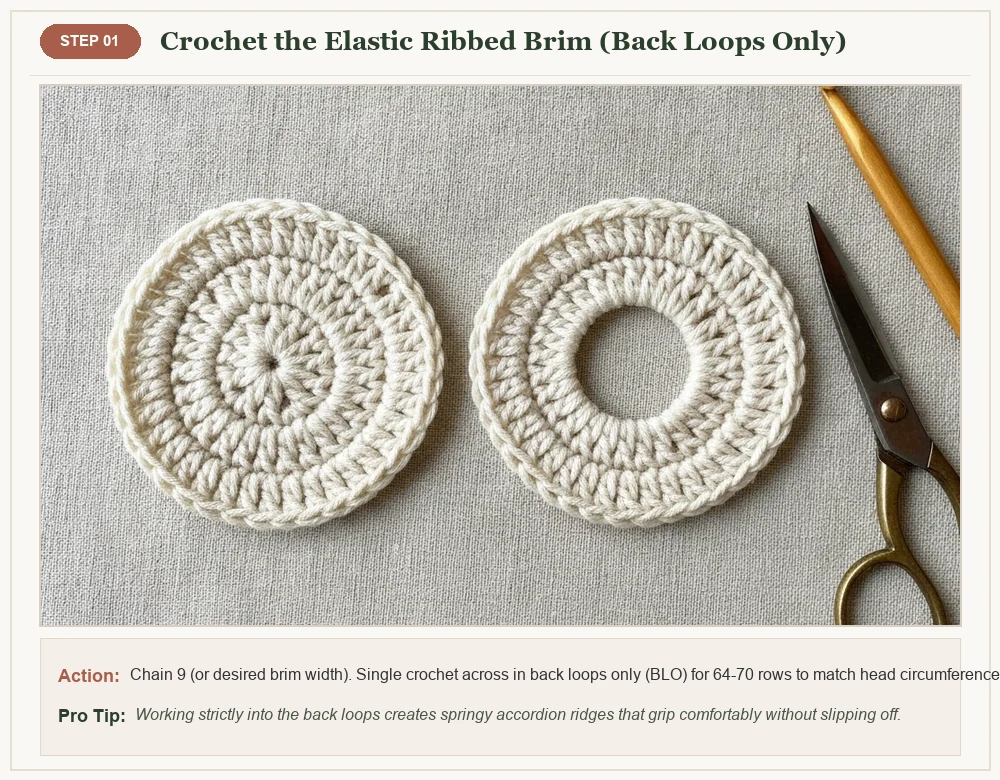
Step 1: Ribbed Brim & Foundation Chain in Back Loops Only

Chain 40 (or your desired hat height plus 2 inches for a fold-over brim). Starting in the 3rd chain from your hook, work 1 half double crochet (hdc) into each chain across (38 sts total). Ch 1, turn. For all following rows, work 1 hdc in the Back Loop Only (BLO) of every stitch. This creates the signature elastic ribbed texture that comfortably hugs the head.

2

Step 2: Working the Body Rectangle to Head Circumference

Continue repeating Row 2 in BLO until your ribbed piece measures approximately 19 to 20 inches in unstretched length (66 rows for Adult Regular). The stretchy ribbed fabric has 2-3 inches of built-in negative ease so your finished beanie fits snugly without slipping over your eyes.

3

Step 3: Folding and Seaming the Side Edge and Top Crown

Fold your rectangle in half with right sides facing, aligning the foundation chain with your final row. Thread your long yarn tail onto a tapestry needle. Mattress stitch the side edges together from the bottom brim up to the top to form a ribbed tube. Then, seam straight across the top opening with tight whip stitches.

4

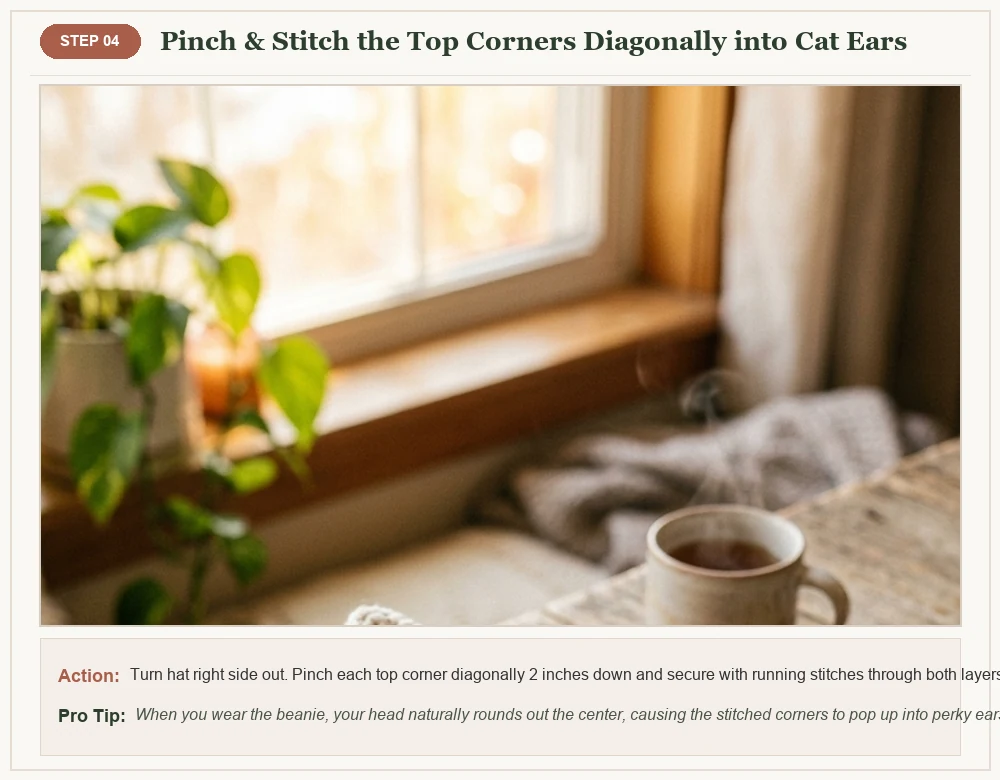
Step 4: Shaping and Pinching the Cute Cat Ears

Turn the beanie right side out. Push the two top outer corners out from the inside. When placed on your head, the straight seam naturally dips across the crown, forcing the two top corners upward into perky cat ears! To keep them extra defined, pinch each corner into a neat triangle and take 3-4 tacking stitches through the base.

๐Ÿงถ Complete Stitch Tutorial

Pattern Instructions

In this comprehensive guide, I will walk you through each stepโ€”from working the stretchy back-loop ribbed brim to the clever diagonal corner pinch that transforms a flat square into perky cat ears. If you are practicing foundation techniques, be sure to check our essential Crochet Magic Loop Tutorial for circular projects, and calculate your exact skein requirements in seconds using our free Yarn & Yardage Calculator. Grab your favorite worsted yarn and hook, and let’s craft the cutest kitty beanie together!

Why Youโ€™ll Love This Kitty Crochet Hat Pattern

If you have ever felt intimidated by crocheting in the round or frustrated by puckering crown decreases, this pattern is your ultimate breath of fresh air. Here is why makers of all skill levels adore this design:

  • Zero Shaping Decreases: You never have to worry about counting tricky hdc2tog or sc2tog decreases at the crown. The entire hat is worked flat.
  • Magic Cat Ear Construction: You do not need to crochet separate triangle ears and fuss over sewing them symmetrically! When you seam the square top and slip the hat onto your head, the tension naturally pushes the two corners upward into perky ears.
  • Super Stretchy Ribbed Brim: Worked in Back Loop Only (BLO) single crochet, the brim offers fantastic elasticity (2โ€“3 inches of negative ease) so it stays snug and never slips over your eyes.
  • Fast 1-Skein Project: With worsted or bulky yarn, this beanie works up in just 1.5 to 2 hours, making it the perfect market prep or last-minute gift project.

Kitty Hat Size Chart & Custom Sizing Guide

Because head circumferences vary, this pattern includes sizing for everyoneโ€”from toddlers to adults. Measure around the widest part of the head (just above the eyebrows and ears) before starting.
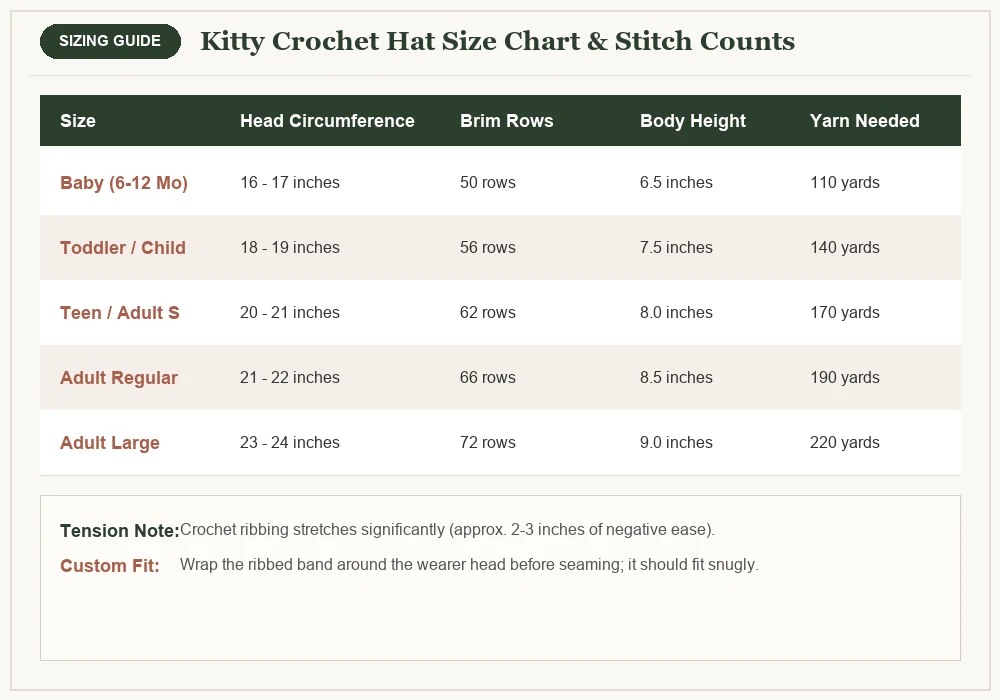
Kitty crochet hat pattern size chart and dimensions guide
Kitty Crochet Hat Size Chart: Head circumferences, brim row counts, body height, and estimated yarn yardage.
Size Head Circumference Brim Rows Finished Width (Flat) Total Hat Height Yardage
Baby (6โ€“12 Months) 16″ โ€“ 17″ (40โ€“43 cm) 50 rows 7.5″ (19 cm) 6.5″ (16.5 cm) 110 yds
Toddler / Child 18″ โ€“ 19″ (45โ€“48 cm) 56 rows 8.5″ (21.5 cm) 7.5″ (19 cm) 140 yds
Teen / Adult Small 20″ โ€“ 21″ (50โ€“53 cm) 62 rows 9.5″ (24 cm) 8.0″ (20 cm) 170 yds
Adult Regular (Shown) 21″ โ€“ 22″ (53โ€“56 cm) 66 rows 10.0″ (25.5 cm) 8.5″ (21.5 cm) 190 yds
Adult Large / Slouchy 23″ โ€“ 24″ (58โ€“61 cm) 72 rows 11.0″ (28 cm) 9.0″ (23 cm) 220 yds

Recommended Yarn & Tension Essentials

To achieve clean stitch definition and perky ears that stand tall without flopping, choosing the right yarn fiber and hook size is crucial:

  • Yarn Fiber: An acrylic, wool, or wool-blend yarn with good memory and bounce (such as Lion Brand Color Made Easy, Wool-Ease, or Red Heart Soft) is ideal. 100% plant fibers like unmercerized cotton tend to stretch out and lack the rebound elasticity needed for ribbed hats.
  • Hook Size: We recommend a 5.0 mm (US H-8) hook for worsted weight (#4) yarn, or a 6.0 mm (US J-10) hook if using bulky weight (#5). If your stitches feel stiff, go up half a hook size; if your fabric is loose or floppy, go down half a size.
  • Gauge Check: 14 half double crochet stitches x 10 rows = 4 inches (10 cm). Taking 5 minutes to measure your gauge swatch ensures your beanie fits comfortably.

Written Pattern Instructions (Adult Regular Size)

Part 1: The Elastic Ribbed Brim

The brim is worked flat in short vertical rows, forming an elastic ribbed band that matches your head circumference.

  1. Foundation Chain: Chain 9 (for a 2-inch brim; chain 13 if you prefer a wider fold-over brim).
  2. Row 1: SC in 2nd chain from hook and in each chain across. Turn. (8 sts)
  3. Row 2: Ch 1 (does not count as a st), SC in the Back Loop Only (BLO) of each stitch across. Turn. (8 sts)
  4. Rows 3โ€“66: Repeat Row 2 until your ribbed band measures approximately 18โ€“19 inches un-stretched (66 rows total for Adult Regular). Do not fasten off.

Part 2: Working the Hat Body

Now, rotate your work 90 degrees clockwise to begin crocheting the main hat body directly into the long side edge of your ribbed band.

  1. Body Row 1 (Setup): Ch 1, work 1 HDC into each row-end along the edge of the ribbed brim. Turn. (66 HDC sts)
  2. Body Row 2: Ch 1, HDC in each stitch across. Turn. (66 sts)
  3. Body Rows 3โ€“20: Repeat Body Row 2 until the entire piece (brim + body) measures 8.5 inches (21.5 cm) from the bottom edge of the brim to the top edge.
  4. Fasten off, leaving a long 24-inch tail for seaming.

Part 3: Seaming into a Tube & Closing the Top

  1. Fold your crocheted rectangle in half with right sides facing together, aligning the two short vertical edges.
  2. Thread your tapestry needle with the yarn tail. Using a neat mattress stitch or whipstitch, seam the two vertical edges together to create a cylinder tube.
  3. Now, flatten the top opening straight across horizontally, centering the back seam at the middle.
  4. Sew straight across the top edge with firm whipstitches, closing the crown completely flat. Weave in the tail securely on the inside.

Part 4: Shaping the Perky Cat Ears

  1. Turn your hat right side out. You now have a square-topped beanie.
  2. Use your fingers to pinch one top corner flat. Measure approximately 2 inches (5 cm) diagonally down from the corner tip.
  3. Place a locking stitch marker across this diagonal line to hold the two layers together. Repeat for the opposite corner.
  4. Thread your tapestry needle with an 8-inch strand of matching yarn. Insert the needle through both layers along the diagonal line, working neat running backstitches across the base of the ear.
  5. Pull snug to emphasize the triangular point, bring yarn ends to the inside of the hat, tie a secure double knot, and weave in ends. Repeat for the second ear!

Evaโ€™s Pro-Tips for Picture-Perfect Cat Ears

๐Ÿ’ก
The Secret to Ears That Never Flop

If your cat ears tend to droop or fold backward when worn, make your diagonal stitch angle steeper (about 45 degrees) and stitch through both fabric layers with a sturdy backstitch. Some makers even insert a tiny scrap of matching wool felt inside the ear pinch before sewing to give the ears permanent perky structure!

Care & Blocking Instructions

To keep your handmade kitty beanie looking fresh and fluffy season after season, follow these simple care guidelines:

  • Gentle Hand Wash: Submerge your hat in lukewarm water with a drop of no-rinse wool wash or mild baby shampoo. Gently squeeze suds through the stitches without wringing or twisting.
  • Dry Flat: Roll the hat inside a clean dry towel to press out excess water. Reshape the flat square top, pinch the cat ears into crisp points, and lay flat on a drying rack away from direct heat.

Save This Pattern to Your Crochet Boards

Donโ€™t lose this free pattern! Pin the high-resolution craft infographic below to your Pinterest crochet boards so you can make it anytime you need a quick, cozy gift:

Easy kitty crochet hat pattern cute cat ear beanie Pinterest pin infographic

PIN IT TO CROCHET LATER

๐Ÿ“Œ Save This Pattern to Your Pinterest Board

Keep this free pattern, stitch charts, and photo steps right at your fingertips by pinning it to your favorite crochet boards!

Angle 1 Angle 1: Styled
Save Styled
Angle 2 Angle 2: Scale
Save Scale
Angle 3 Angle 3: Details
Save Details
Suggested Boards: #FreeCrochetPatterns #AmigurumiAnimals #PocketCatAmigurumi #CrochetEva

โ“ Frequently Asked Questions

Yes! If using bulky weight yarn (5), switch to a 6.0 mm or 6.5 mm hook and chain around 28-32 stitches for the 10-inch height. Work rows until reaching 19 inches unstretched length.

Using a yarn with good elasticity and bounce (such as wool or acrylic blends) provides natural structure. Additionally, pinching each corner from the inside and sewing 3-4 small tacking stitches across the base will lock them in place permanently.

Yes! There are zero round increases, zero crown decreases, and zero complex shaping. If you can make a chain and half double crochet back and forth in rows, you can complete this hat in an evening.

How did this pattern work for you?

Leave a star rating to help fellow makers find the best projects.

โœจ

Was this pattern clear and helpful?

Your feedback helps Eva refine every stitch count and tutorial.

Eva
Pattern Designer & Founder

Eva

Hi there, Iโ€™m Eva! I create modern, cozy crochet patterns engineered for both beginners and passionate yarn artists. Every design in our studio is stitch-tested for accuracy, ease, and timeless style.

Read Evaโ€™s Story & Studio Notes โ†’

โœ๏ธ Leave a Comment or Question

Your email address will not be published. Required fields are marked *